
Making a personal gift card part 2 – How to draw a vaulting horse?
Everyone knows the struggle: a friend or relative celebrates his or her graduation, and of course that means a personal gift needs to be selected. However, selecting the perfect gift is no easy task, it requires dedication, creativity, and empathy to figure out the answer to the one question: What does this person truly want?
You want your gift to be original, personal, and to hold a deeper meaning. A gift which meets all these requirements is a personal card.
Down here are 10 steps you need to take to design and make such a personal card. I will illustrate all 10 steps with an example graduation card I made myself. So let’s start!
10 steps you need to take to create your own personal gift card:
- Who is the card for? First of all it is very important to know who the card is for and what his or her link to you is, while that influences what kind of card you are going to make. In my case I made the card for a good friend I see weekly at vaulting trainings and competitions.
- What does the receiver of the card like? What are his/her hobbies? What sport does he/she do/like? Does he/she owns pets? Does he/she has a job? It is very important to get a clear and complete image of the person you are designing the card for. Of course, since you probably know this person well you already know these things, but it can help to run through a small list in your head to refresh this information. I brainstormed about these aspects till I came upon one aspect which appealed to me, and already provided me with a good idea of what the card should look like. Of course, you don’t already need to have an idea right away, but it does help you if you have.
- Decide upon which “aspect(s)” of you receiver’s life you are going to focus in the card. You cannot include all hobbies, sports, etc. in the card, you therefore need to make choices. I decided to base my card on vaulting.
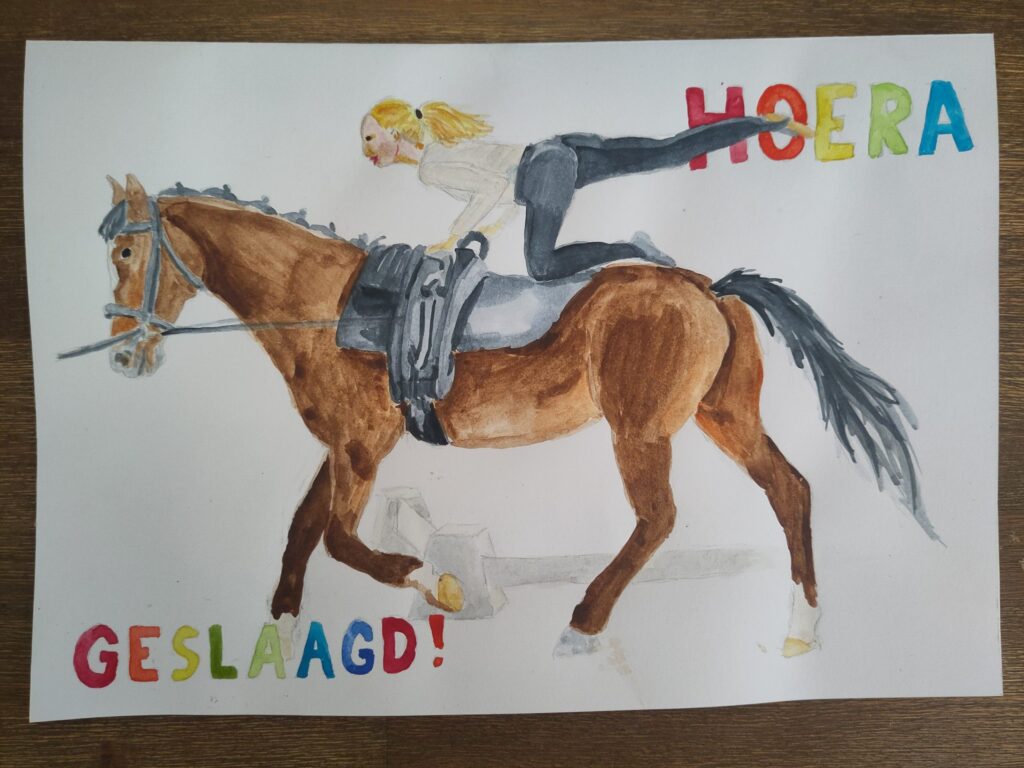
- Come up with a rich idea for the design of the card. This is probably the toughest step in the design process of your own birthday card, but nonetheless the most important step, because without inspiration it is very hard to create a nice looking card. Focus on your chosen “aspect” and brainstorm about ways to give meaning to this “aspect on the paper. When you are still having trouble coming up with an idea you can also take a look at the internet, in magazines, and on posters for inspiration. Maybe seeing other (card) designs, or images of your focus point an idea will start to form in your head. In this step I came up with the idea that I wanted to depict my friend doing a vaulting act (named the “flag”) on top of a cantering horse, and the text hooray graduated!
- Create a design based on your rich idea. In this step you are going to turn your ideas into a real image/rough sketch on a paper. When putting your thoughts to paper you’ll get more insight in what works and what doesn’t, you’ll have the chance to fix problems that arise, and create a clear plan of what the card will look like. Furthermore you also need to decide what materials you’ll use: what size of paper do you use? Will you use pencils, paint, watercolor? Do you want to add depth in your card by adding some cardboard behind certain images/words, so they stand out? I decided to use A4 watercolor paper and watercolor paint.
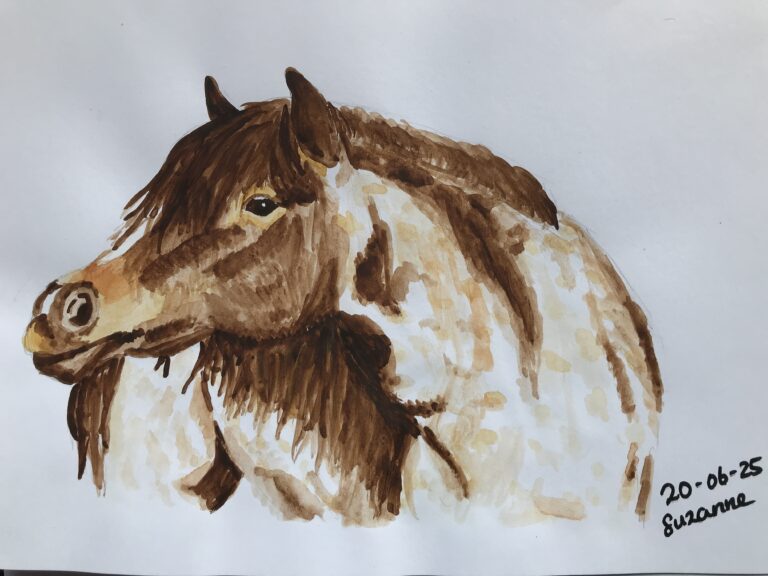
- Make your sketch. Now the most challenging steps have already been taken, you’ve created a clear image of what the card should look like, and all there is left to do is draw the design neatly onto a thick double folded paper. I sketched the horse and vaulter, together with the text onto my card. My sketch can be seen down here.

- Add text to the card. Now it is time for adding the text to your card. Getting the text right is very important in conveying the message, and you can make it as crazy as you want. The words don’t actually have to exist, you can play a bit with language. I decided upon the text hooray graduated! in bold letters.
- Color the card. In this step the real fun can begin, because your card is getting more and more form. You can start to add color, and make it as exuberant as you like. I like adding many colors to my card, especially in the letters, because that helps in spreading the joyful message that aligns with the joyful message, but of course that is totally up to you.
- Finishing touches. Now is the moment to change the tiny details you don’t like and add (when desired) little details in the background to fill the rest of the card. I decided to add the small outlines of the arena in the card to provide some background.
- Stop in time, it doesn’t have to be perfect!